How to Use Lens Correction in Lightroom (2026)
Lightroom lens correction is one of the most useful tools in the Develop module, and it takes about ten seconds to use. Every lens bends light a little differently: wide-angle shots bow outward, telephoto shots pinch inward, and bright edges pick up purple or green fringes. Lightroom knows the optical quirks of thousands of lenses and can undo them automatically. This guide shows how to use it in Lightroom Classic and Lightroom mobile, when to adjust it by hand, and when to leave it off.
What Is Lightroom Lens Correction?
Lens correction fixes the optical flaws built into every camera lens. It is a technical fix, not a creative effect: it makes the photo look the way the scene actually looked. Lightroom applies it non-destructively, so you can change it at any time without harming the original file.
It corrects four problems:
- Distortion: straight lines bow outward (barrel distortion, common on wide-angle lenses) or pinch inward (pincushion distortion, common on telephoto lenses).
- Chromatic aberration: purple, green, or blue fringes along high-contrast edges, such as tree branches against a bright sky.
- Vignetting: corners that are darker than the centre of the frame, especially at wide apertures.
- Perspective: leaning buildings and tilted horizons, fixed with the Transform tools that sit next to lens correction.
Lens profiles are lens-specific. A profile is measured correction data for one exact lens model, sometimes at a specific focal length and aperture, so Lightroom needs to know which lens took the photo. It reads that from the photo’s metadata. If the metadata is missing — after converting a file, or with an adapted manual lens — you may need to pick the profile yourself or correct by hand, as explained below.
How to Use Lens Correction in Lightroom Classic
The automatic method works for most photos. If your lens is in Adobe’s database, one checkbox does almost everything.
Step 1: Open the Develop Module
Select a photo and press D, or click Develop at the top right. Scroll down the right-hand panel to Lens Corrections.
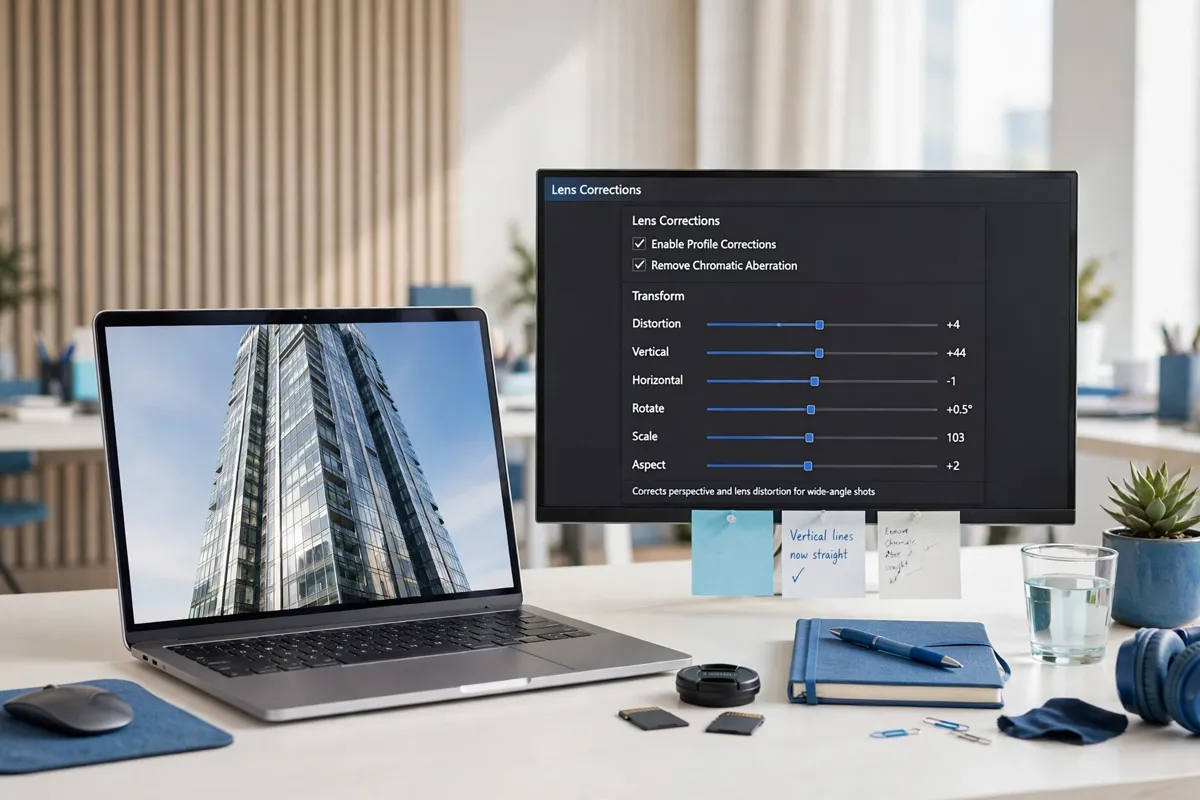
Step 2: Remove Chromatic Aberration First
Tick Remove Chromatic Aberration. Zoom to 100% on a high-contrast edge — a roofline against the sky, or backlit hair — and check that the coloured fringe is gone. If a faint fringe remains, open the Color tab and use the Defringe sliders to target the exact purple or green hue.
Step 3: Enable Profile Corrections
Tick Enable Profile Corrections. Lightroom reads the lens from the photo’s metadata and applies the matching profile, correcting distortion and vignetting in one step. Check the straight lines at the edges of the frame: walls, door frames, and horizons should now be straight, and the corners should match the centre in brightness.
Step 4: Fine-Tune the Amount Sliders
The profile applies at 100% by default, which is correct for most photos. If straight lines look over-corrected — bowed the other way — lower the Distortion amount to 80 or 90. If the corners are still dark, raise the Vignetting amount above 100.
Step 5: Fix Perspective with Transform
Lens correction fixes the lens, not the angle you shot from. If a building still leans back, use the Transform panel just below Lens Corrections. Click Auto for a quick fix, Vertical to straighten upright lines, or Guided to draw two lines along the edges that should be vertical. Tick Constrain Crop to crop away the empty white triangles the correction creates. Apply lens correction first, then Transform — in that order.
How to Use Lens Correction Manually
Manual correction is for lenses Lightroom does not recognise, or when you want more control than the profile gives.
In the Lens Corrections panel, switch to the Manual tab. Drag the Distortion slider to the right to fix barrel distortion (lines bowing outward) and to the left to fix pincushion distortion (lines pinching inward). Use a straight edge near the frame border — a door frame or a horizon — as your reference, and stop as soon as it looks straight. Use the Vignette sliders to brighten dark corners or darken them on purpose.
If no profile exists for your lens at all, the Make, Model, and Profile drop-downs under the Profile tab will say “None”. Pick the closest lens from the same manufacturer by hand — same focal length and same mount is the best match — or correct manually with the sliders. Either way, save the result as a preset so you only do the work once.
Lens Correction in Lightroom Mobile
Lightroom mobile has the same tool, but it is in a different place — and this is the step most guides skip.
Open a photo, tap Edit, then scroll the tool bar to Optics. If your phone or camera lens is recognised, you will see toggles for Remove Chromatic Aberration and Enable Lens Corrections. Turn them on. On photos shot with the phone’s built-in camera, corrections are often already applied by the phone itself, so the toggles may be greyed out — that means there is nothing left to fix. On RAW files imported from a camera, the toggles work the same way as on desktop. If your RAW files will not open on mobile at all, our guide to Lightroom RAW files not opening covers camera support and the DNG workaround.
How to Fix Fisheye Distortion in Lightroom
Fisheye lenses bend straight lines into strong curves. First, try Enable Profile Corrections — if Lightroom recognises the fisheye lens, it can de-fish the image almost completely. If there is no profile, go to the Manual tab and drag the Distortion slider until the main lines look straight, then crop away the stretched corners. Like the fisheye look? Leave correction off — the curve is the point of the lens.
How to Apply Lens Correction to Many Photos at Once
Correcting one photo at a time wastes hours on a shoot. Lightroom lens correction applies to a whole batch just as easily: correct one representative photo, select it plus the rest in the filmstrip, and click Sync Settings, ticking only Lens Corrections (and Transform, if you used it). Or copy the settings with Ctrl+Shift+C (Cmd+Shift+C on Mac) and paste them with Ctrl+Shift+V. For an entire import, save the correction as a develop preset and apply it in the Import dialog under Apply During Import. Our batch editing guide walks through all three methods step by step.
When NOT to Enable Lens Correction
Correction is a default, not a rule. Leave it off when:
- You want the distortion: fisheye shots, creative wide-angle portraits, and some vintage looks depend on the bend.
- The profile is wrong: if straight lines bend the opposite way after enabling it, the profile does not match your lens. Disable it and correct manually.
- You are cropping tight: on heavily cropped photos the correction can stretch edge pixels and soften detail. Compare with the correction on and off at 100% zoom.
- You shoot with a phone: phone cameras already correct distortion in-camera, so the desktop profile may double-correct and warp the image.
Troubleshooting: Lens Correction Not Working
“No profile found” or the drop-downs say “None”: your lens is not in Adobe’s database. Update Lightroom — Adobe adds profiles regularly — or pick the nearest lens manually. Very old, third-party, or adapted manual lenses are the usual cases. If you are importing photos, make sure you import the original files with their metadata intact; stripped metadata is the most common reason a known lens is not recognised.
Correction makes the photo look worse: the wrong profile is applied, usually because the metadata names a different lens. Open the Profile tab, check the Make and Model, and choose the right one.
Edges look stretched after correction: normal on very wide lenses — correction stretches the corners to straighten them. Crop slightly tighter, or reduce the Distortion amount to 80–90 instead of 100.
The Lens Corrections panel is missing: you are in the Library module, not Develop. Press D. On Lightroom mobile, look under Optics, not under the main Edit tools.
Frequently Asked Questions
Should I always enable lens corrections in Lightroom?
For most photos, yes — enable Remove Chromatic Aberration and Enable Profile Corrections on every photo as part of your import preset. Turn it off only for creative distortion or when the profile is wrong.
Where is lens correction in Lightroom mobile?
Open a photo, tap Edit, scroll to the Optics section, and enable Remove Chromatic Aberration and Enable Lens Corrections. There is no manual slider or Transform panel on mobile.
The Bottom Line
Lightroom lens correction is a ten-second fix that should be part of every edit: turn on Remove Chromatic Aberration and Enable Profile Corrections, check the straight lines at the edges, and use Transform for leaning buildings. Do it once, save it as an import preset, and every photo from that lens starts clean. Adobe’s own documentation on correcting lens distortion and perspective covers the same panels in detail.