How to Smooth Skin in Lightroom Classic and CC: Step-by-Step Guide
Do your clients require perfectly smooth skin in their portraits, and are you looking for a simple, affordable, and easy-to-use tool that will meet their needs? Congratulations! We have a special treat for all portrait photographers, including you, because after reading this article, you will easily understand how to smooth skin in Lightroom Classic and CC. This article will be more useful for photographers who are involved in the fashion industry because there is a close relationship between the fashion industry and smooth skin. Moreover, removing pimples and other blemishes using Lightroom’s smooth skin feature will help you make your work unique, which will lead to a strong portfolio even if you are not in the fashion industry.
Why Use Lightroom for Skin Smoothing?
I have discussed some features of Lightroom Classic and Lightroom CC in Lightroom vs Lightroom Classic, so after taking a closer look at them, we can clearly understand why we always prefer Lightroom. Also, Lightroom is not intended for dry skin. Whether we want to make a collage or remove unwanted elements from the image is always important. But while we discuss how to smooth skin in Lightroom, it is important to analyze why we chose Lightroom over other photo editing software, such as Adobe Photoshop. Let us highlight some of the main aspects that make us choose Lightroom for skin smoothing:
How to Smooth Skin in Lightroom Classic?
We can’t deny that smoothing skin in Lightroom has never been faster, but don’t worry, after reading these simple steps you can smooth skin ten times faster than with other old methods. Still, you need to make sure that you smooth skin in the latest version of Lightroom Classic. Let’s discuss it in detail:
Import the Image Into the Lightroom Catalog.
The first step is to import the image into the Lightroom catalog and make some adjustments to the exposure and white balance to improve the smoothness of the skin. You can make these adjustments to an image in Lightroom Mod APK before importing it into Lightroom Classic.
Select the Mask Icon on the Toolbar.
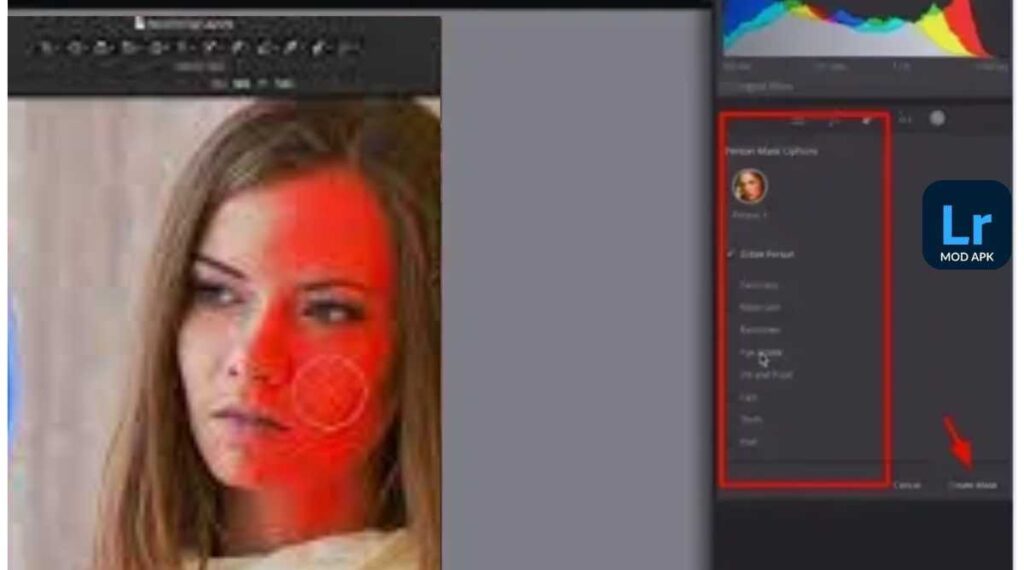
After importing the image, click on a round icon in the right corner of the toolbar. This is your mask because when you hover over it, you will see the text “Mask”. After clicking on it, a pop-up with an additional panel will appear.

Create a Mask
Just below the additional panel that appears, locate your subject, click on it and you will see a nice, clean mask of your subject. Your subject will hit the mask and new pop-ups will appear with facial skin, body skin, eyes, lips, teeth and hair. You just have to click on the face skin and create a mask. You can choose several other options as per your preference, but if you want to smoothen the face skin in Lightroom, check out the face skin. But you have to keep the blessing of AI in mind in this step because it is an AI masking that is an amazing revolution within Lightroom Classic.

Use Lightroom Classic Presets.
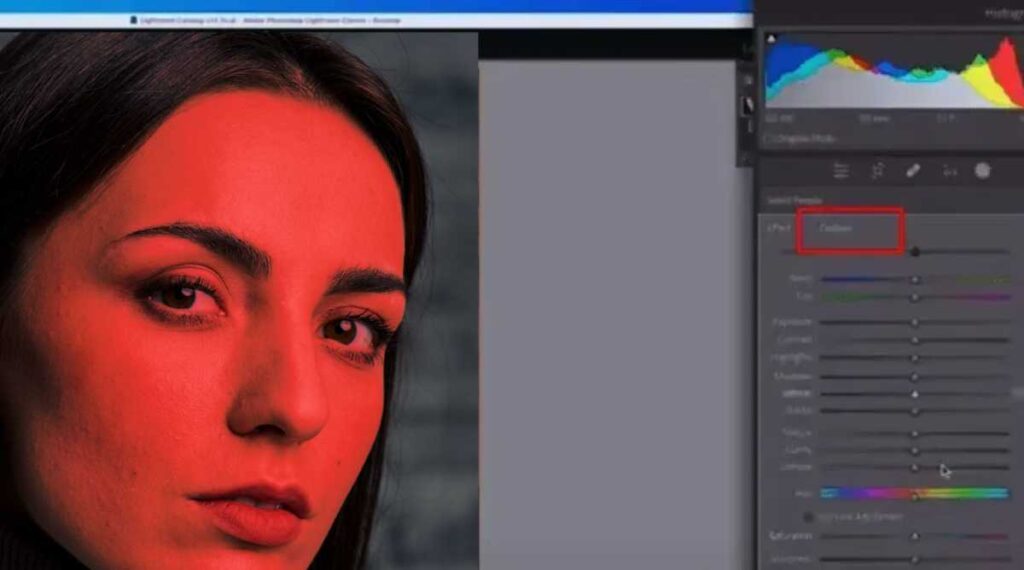
If you want to smoothen the skin, use one of Lightroom Classic’s presets instead of messing around with manual adjustments of different filters. To do this, click on “Custom” to the right of “Effect”.

Choose a Soft Skin.
After clicking on “Custom”, you will see a drop-down menu, so go ahead and select the “Skin Softening” option. Now everything is ready and you have successfully created a professional-looking effect using a very simple method.

If your photo has large spots and blemishes, you can use the “Healing Brush Tool” to manually smooth the skin in Lightroom instead of using the built-in presets.
How to Smooth Skin in Lightroom Mobile
Here are four easy steps for Lightroom enthusiasts looking for smooth skin in Lightroom Mobile:
Select the Image and Open it.
If you have a photo of a client, family member, or friend who has lines and blemishes on their face or skin, open it in Lightroom’s editing area. Then, magnify the image with your finger and get a better view of the skin imperfections that need to be corrected.
Note: After you have applied each filter and made some adjustments, be sure to click the ✓ checkmark at the top to save all changes.
Choose an Editing Brush.
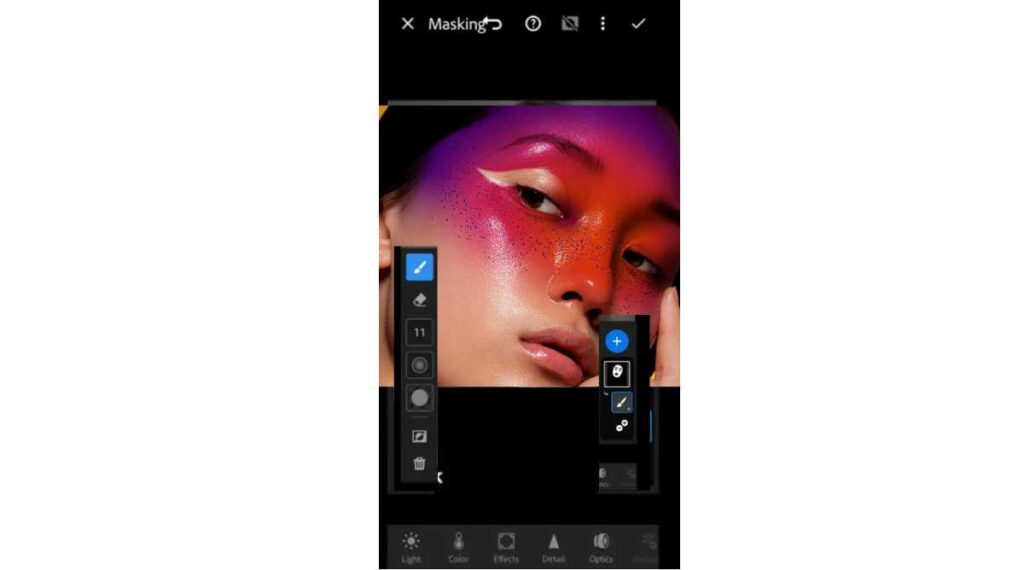
After you have selected an image, go to the bottom toolbar and click the Selective Edit icon on the left. This brush allows you to select the part of your skin that you want to smooth out, and only those areas will be affected by the Smother tool. After that, you will be presented with several options, but you need to click on the + icon > select the brush and make some settings.

Paint on the Skin with a Brush.
Then, with a brush, you need to select the skin that you want to smooth, and the selected area will look like red paint. This red area acts as a mask to highlight the brushed part of the subject. I like to avoid smoothing the eyes, nose, and lips to stay sharp because this preserves the original beauty of the portrait.

Once you start brushing, you will see a small diamond icon that allows you to go back and make some changes to your edits. In active mode, the diamond will flash blue, indicating that the edit is ready for many adjustments. After the masking is done and to avoid the red overlay, you need to close this blue diamond. In addition, if you feel that some parts of your skin have been accidentally brushed, press the eraser icon on the left side of the screen and remove the unwanted area.
Apply Smoothing Effect
After you have drawn the desired area, go to the bottom navigation and click on “Effects”. Then adjust the texture and brightness scale to less than -50.

Apply Smoothing Effect
Then press “Detail” as highlighted in the image below and adjust the noise and sharpness. Two sliders will appear, including Noise and Sharpness. Increase the noise level to +50 and decrease the sharpness to -50, finally save your changes.

Use a Healing Brush to Remove any Remaining Spots.
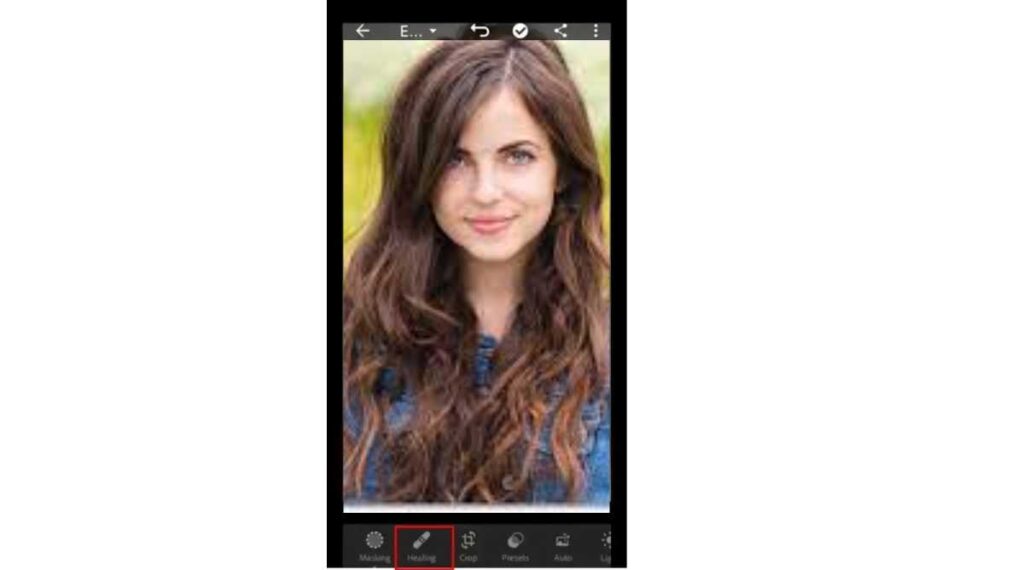
If you see spots and imperfections on the skin after applying smoothing effects with the Edit tool, you can remove them manually with the Healing Brush. Select the healing brush, paint on the affected area, and apply effects.

FAQ,s
Final Thoughts
I have discussed a very short and simple method to smoothen skin in Lightroom for PC and smartphones as many Lightroom enthusiasts insisted. Now you can easily learn how to smooth skin in Lightroom Mobile or Classic by following the above simple methods. With this amazing feature, you can easily remove skin blemishes and imperfections from any photo and take it to the next level. Ultimately, this will satisfy your clients and strengthen your portfolio. Thanks to the new powerful editing tool of Adobe Lightroom, which made us a successful professional photographer, we can now easily find hundreds of clients by showing our portfolio of satisfied clients.


