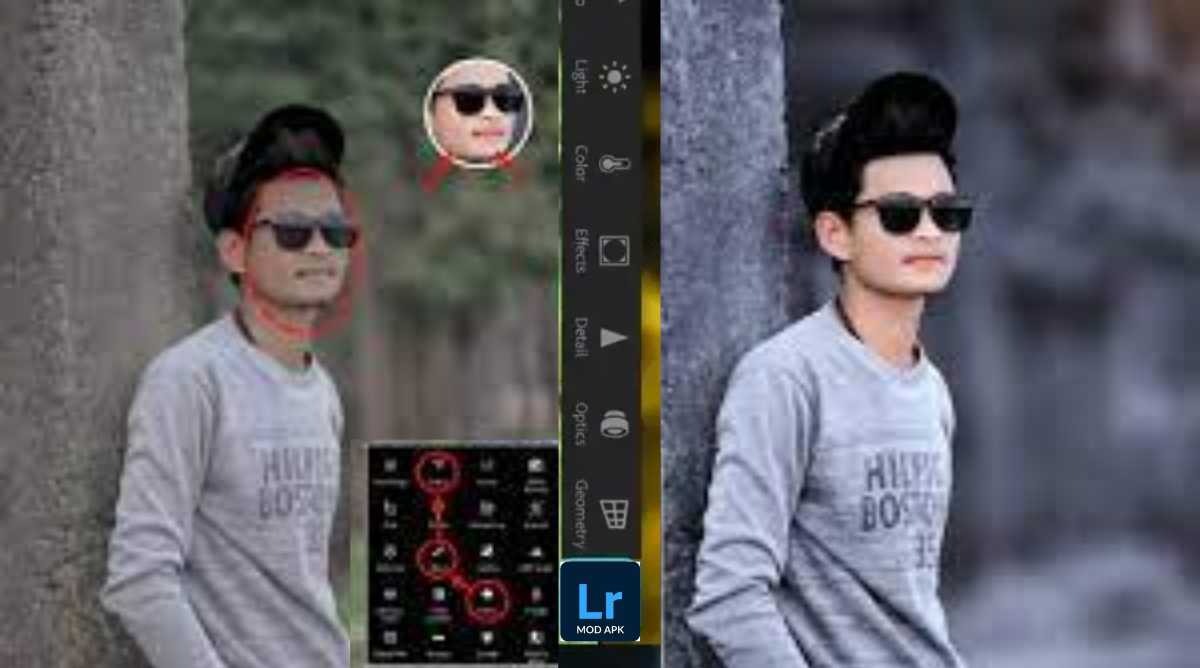
Blur Background in Lightroom: Step-By-Step Guide
Is your camera setting not enough to hide some details to focus on the main subject in the image and thus attract the attention of the viewer? Don’t worry! We are here to give you the latest ideas to make your photos attractive. Thanks to Adobe, which has introduced a wide range of fantastic tools in Lightroom to make our photos and videos look amazing.
Knowing how to blur the background in Lightroom is a must that we will study in depth in this article to perform amazingly in the field of photography. Stay with us to get a comprehensive insight into the different tools used to blur the background of an image and the functionality of these tools. In addition, we will discuss the very smooth steps involved in blurring the background, without overlooking the AI-driven advancements in the process.
Why Blur Background in Lightroom?
Before we discuss how to blur the background in Lightroom, we must know the importance of this feature. There are some circumstances in which background masking becomes necessary because not all elements in the image are equally important. For example, you are taking photos of a couple at a wedding, but many other guests are also captured by your camera’s eye.
In this case, the bride and groom are the focus, everyone else is of secondary importance, so you need to add importance to the couple, and this can be achieved by following a you will only blur Learning how to blur the background in Lightroom is essential to ensure the viewer focuses on the elements in your image. Additionally, blurring makes our images more polished and dramatic, which shows our professional skills in graphic design.
3 Ways to Blur Backgrounds in Lightroom
Like the tools for removing objects (discussed in “Removing Objects in Lightroom“), Lightroom has three specific tools for blurring backgrounds, including Brush, Radial Gradient, and Linear Gradients. In different images, the type of subject that is in focus is also specific, so we need to blur the background in different ways using a wide range of tools. Therefore, we will discuss three different ways of using different tools to make the blurring process in Lightroom a lot easier. Let’s discuss all the methods in detail:
Method 1: Blur the Background with the Brush Tool
Follow the instructions below to blur the background using the Brush tool in Lightroom.
Step 1: Open Lightroom, select the Develop module at the top, and import the image you want.
Open the image in Lightroom.

Step 2: Next, create your mask over the specific area that you want to blur. To do this, go to the “Brush Panel” and select a preset brush effect. You can also create your custom brush effects by specifying a specific setting.
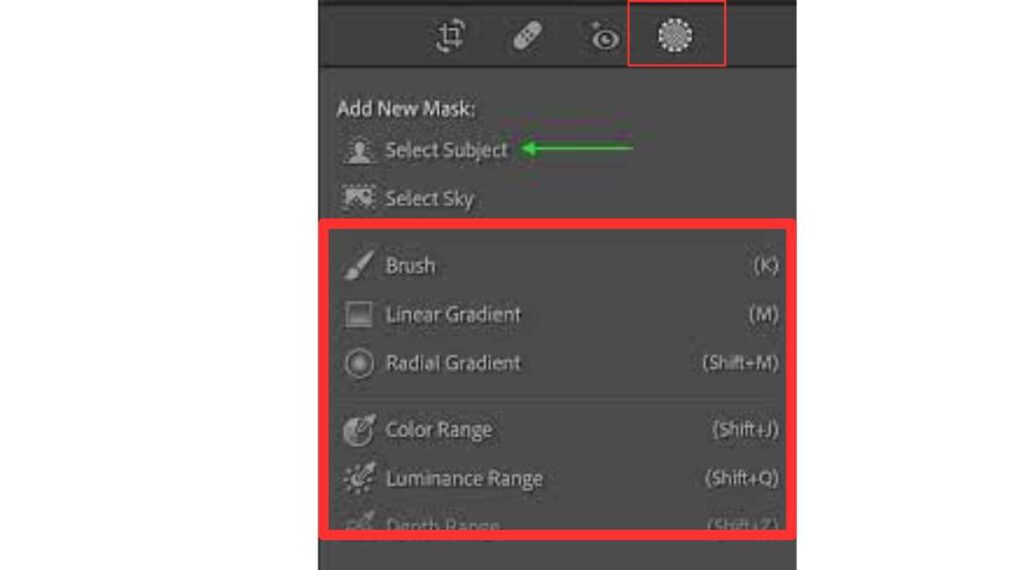
Step 3: On the Brush Panel, select “Show Selection Mask” to paint in the area you want the brush to brush. The region you select will be highlighted in red, making it easier to navigate and apply blur effects.
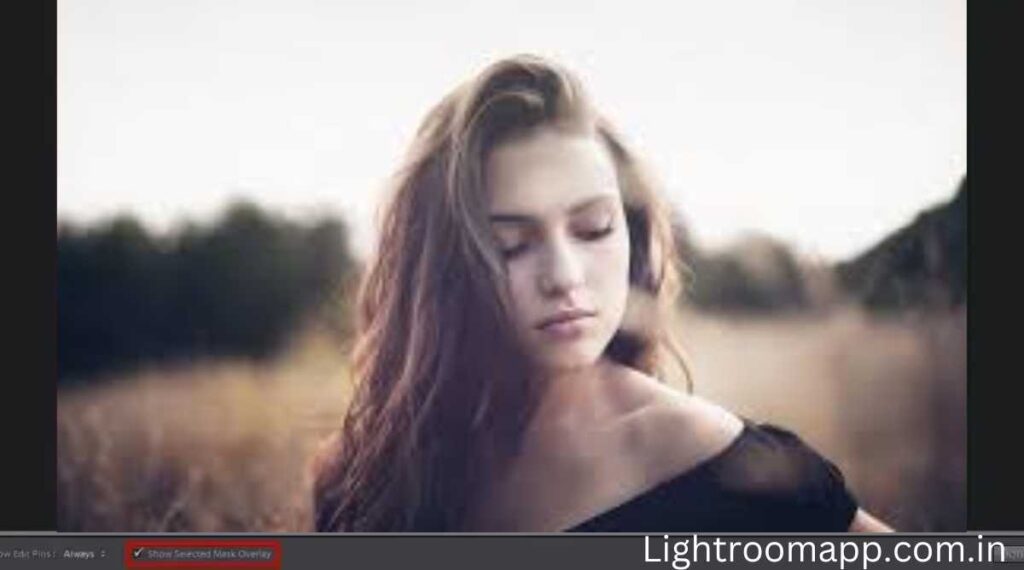
Step 4: The final and most important step in learning how to use the Lightroom Brush tool to blur the background is step four. You can fine-tune the blur effect at this point by adjusting the Brightness and Sharpness settings as needed. Once you get the best out of the blur effect, you can hide the image.

Method 2: Apply a Radial Gradient Blue to the Background
If the focus of your photos is oval or round, this method is right for you. The following steps must be followed to take photos outside of Lightroom.
Method 3: Use a linear Gradient to Blur the Background.
Linear gradient is more advantageous than brush and radial gradient because it gives users more control than the other two. That is why I prefer to blur the background in Lightroom. Moreover, it is more suitable for photos to have a horizontal background, such as in the case of landscapes. If you also want to know how to use this simple and unique tool, you should follow the following steps.
How to Blur the Background in Lightroom Mobile?
If you don’t have a PC and want to blur the background in Lightroom Mobile App or Lightroom Mod APK, follow these simple steps:
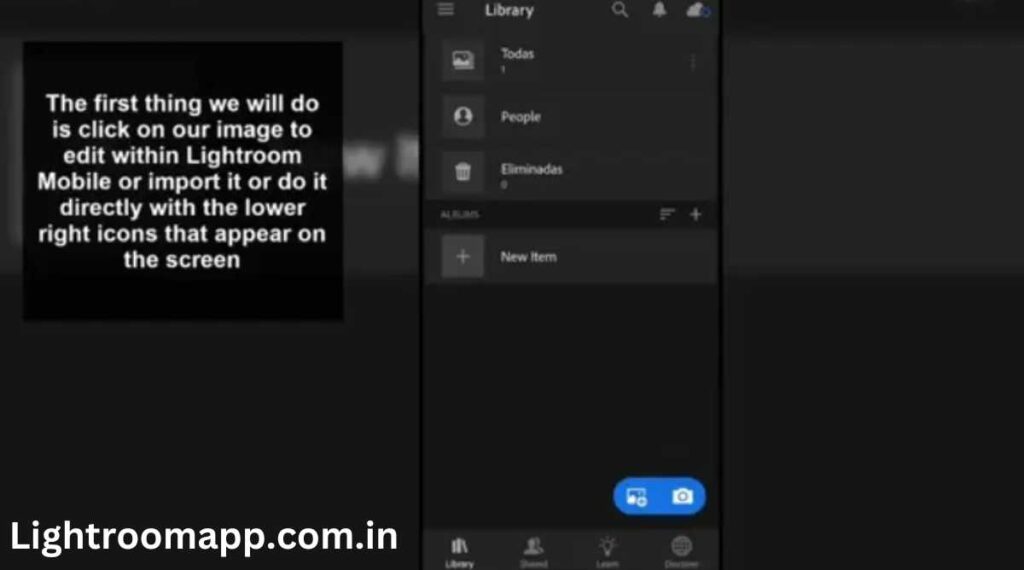
The first thing you do is import the image directly into the Lightroom app via the icon that appears at the bottom right of the screen.
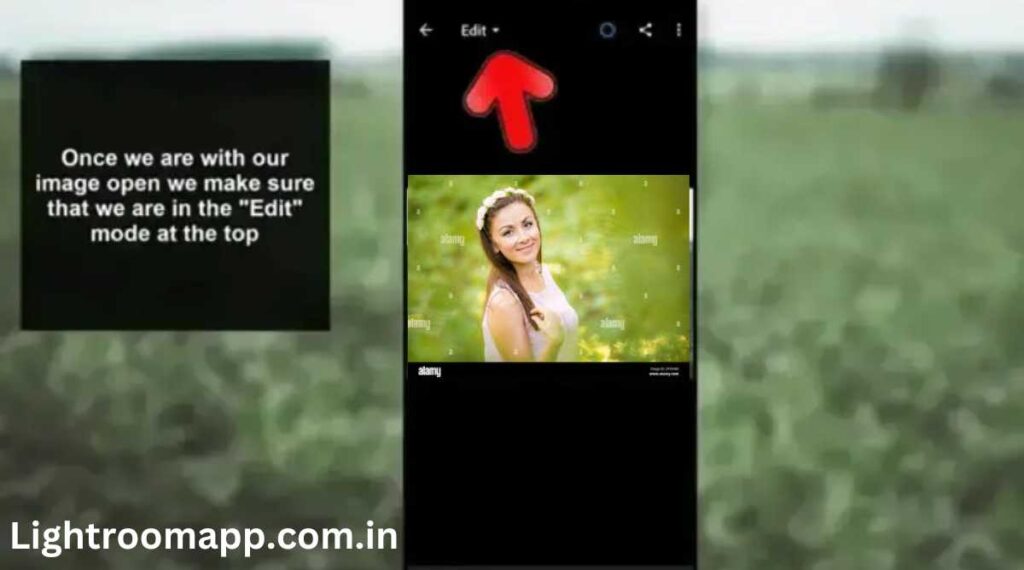
Once you have opened the image, make sure that you are in the editing mode of Lightroom.
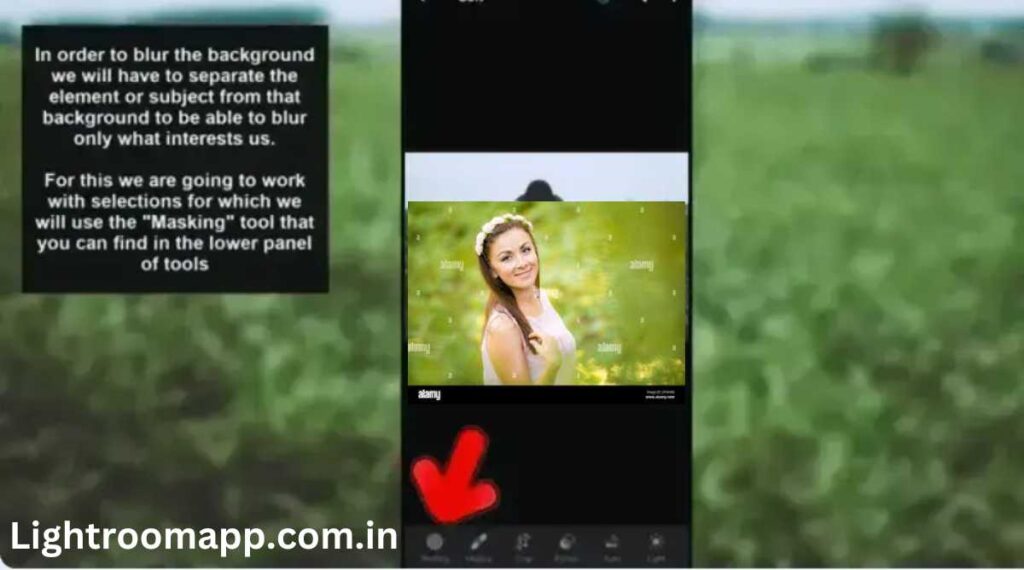
To blur the background, you first need to separate the focus element from the background using the masking tool, which is located in the bottom panel of tools.
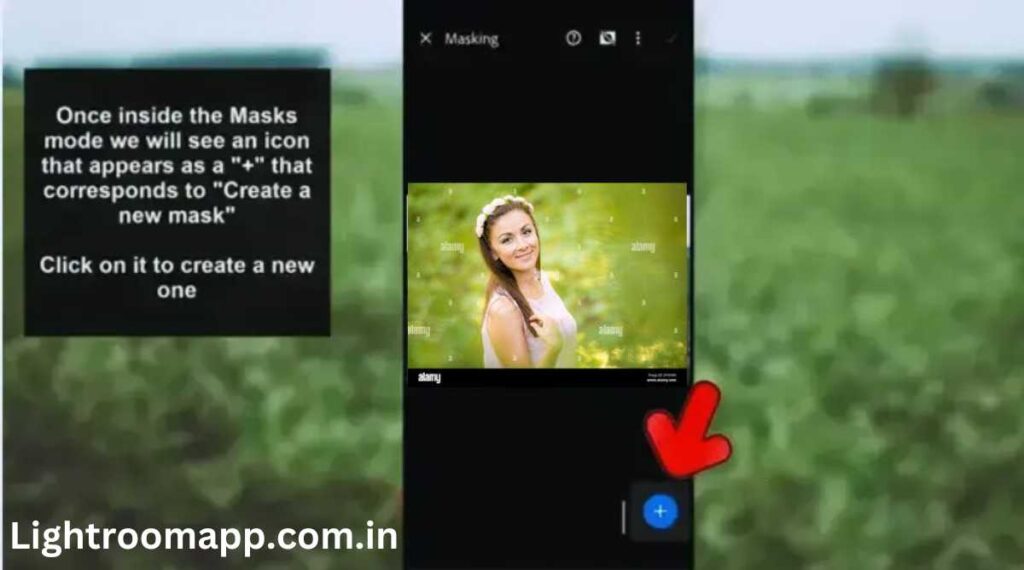
Once you are in Mask mode, click on the + icon at the bottom right corner of the Lightroom screen to create a new mask.
After clicking on the + icon, you will see different options for blurring images, such as subject selection, sky selection, brush, radial gradient, and linear-gradient, similar to Lightroom for PC (three methods are discussed above).
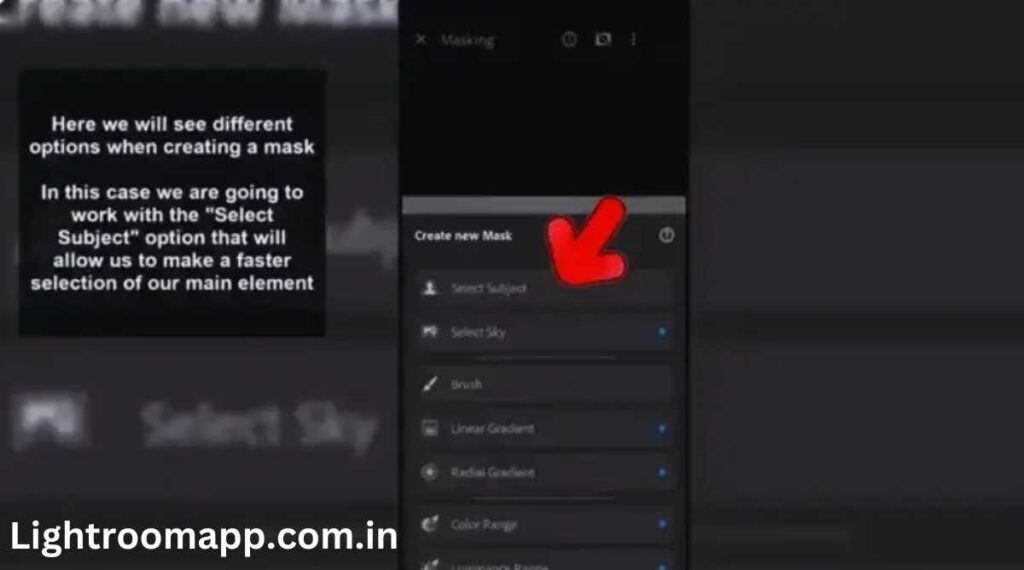
You need to select “Select Subject” to quickly choose your focus element within the image.
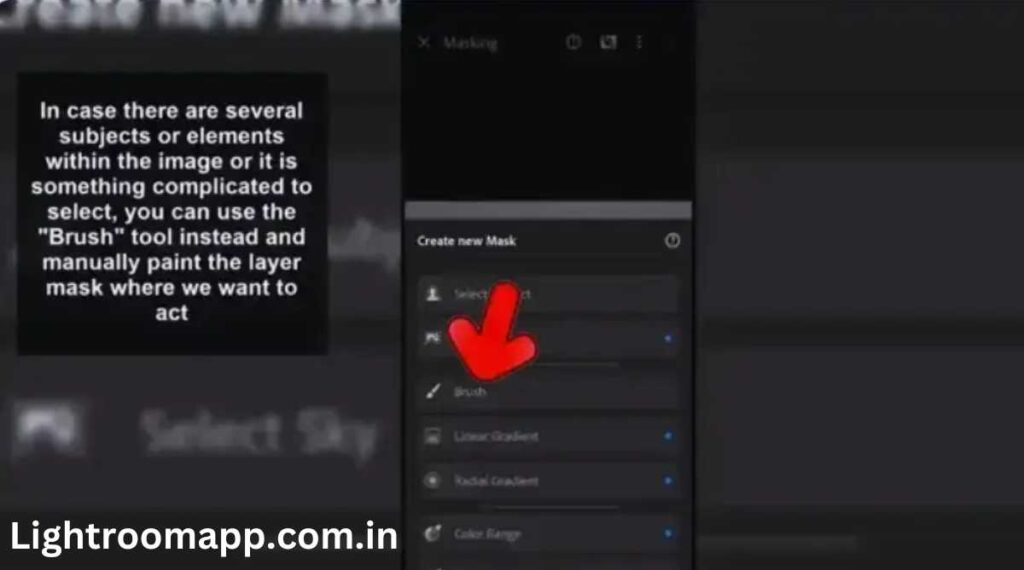
Suppose there are multiple subject or focus elements in the image, or it is difficult to select. In this case, you can choose the “Brush” tool to manually paint a mask layer over the desired part of the image that you want to blur.
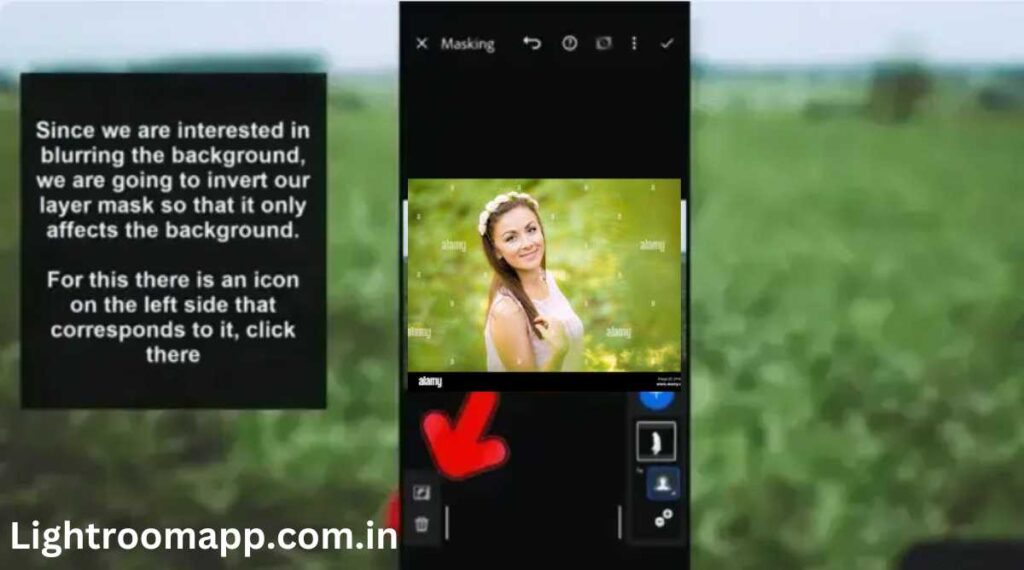
If you want to blur the background, you need to invert your mask layer so that only the background is affected. To do this, press the icon in the lower left corner above the delete icon.
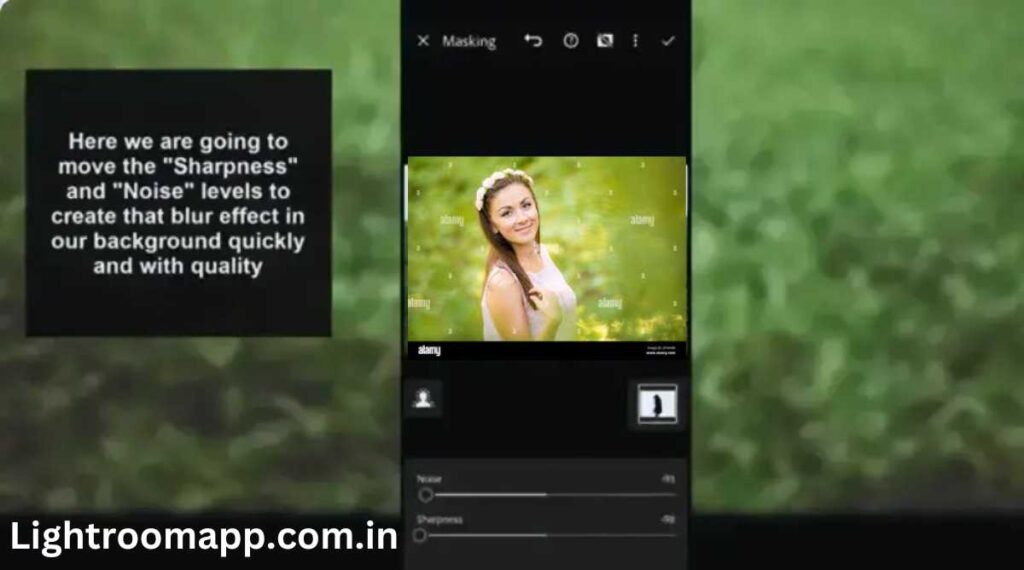
When everything is ready, click on the “Detail” option below and adjust the “Speed” and “Noise” via the sliders to create a blurred background effect. Finally, save your image to Lightroom cloud storage or share it directly on various social media platforms to be featured.
Frequently Asked Questions
Final Thoughts
Just like creating a collage in Lightroom, blurring the background is also a great way to introduce something special to the field of photography and strengthen your portfolio. That is why I have provided a detailed guide with easy methods that will help you get the right information on how to blur the background in Lightroom. This approach will help keep the audience focused and keep your focus. To make a long story short, after reading this article, you can easily blur the background of your photos using Lightroom Classic and CC on your computer or smartphone.

