Lightroom Photo Editing Tutorial for Beginners (2026)
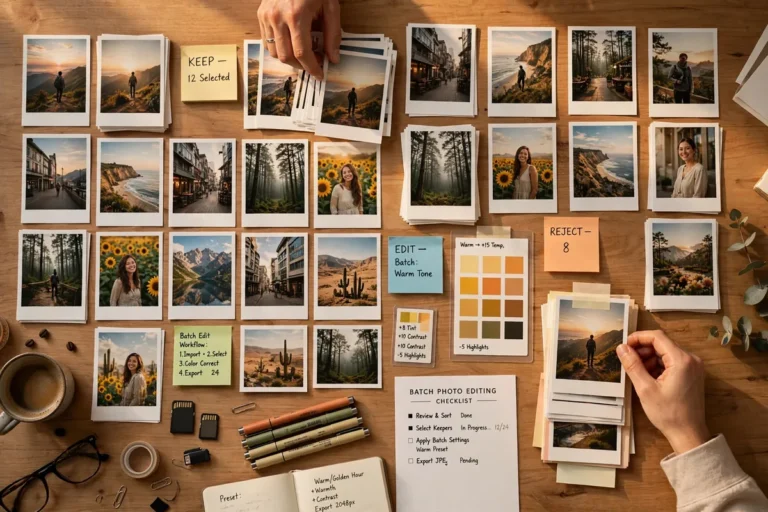
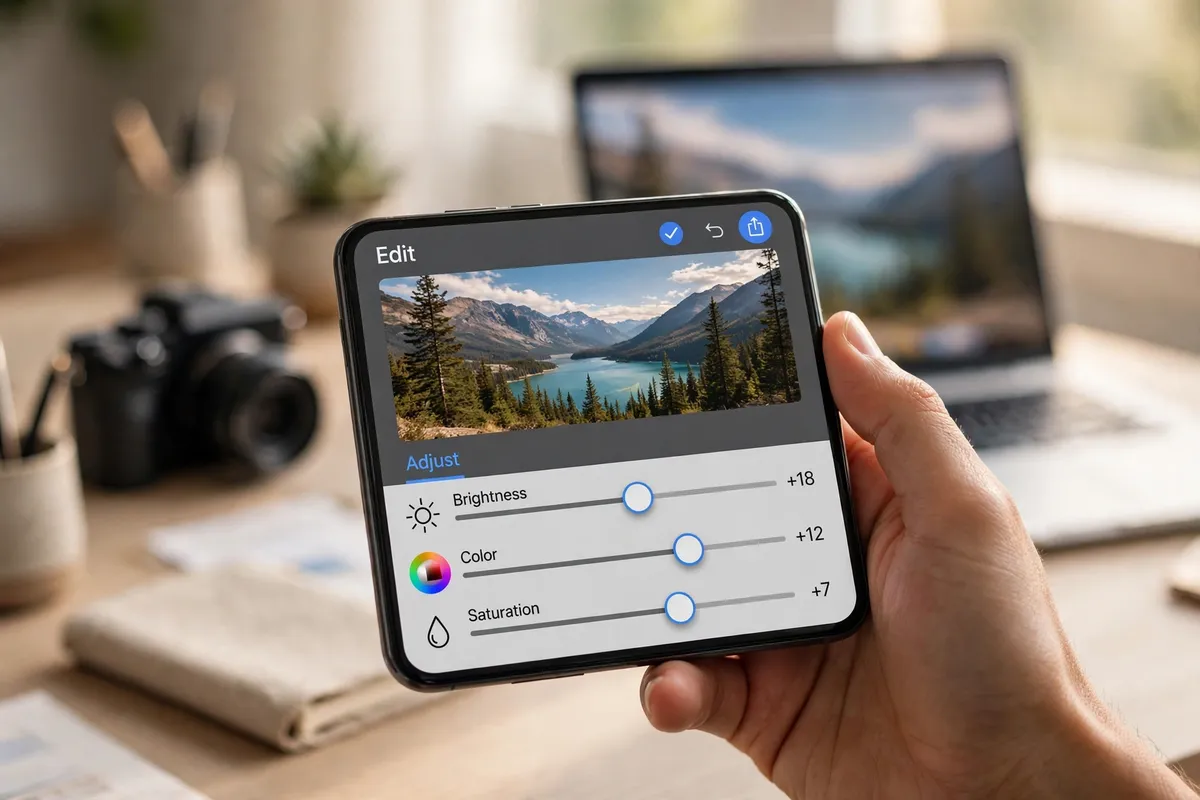
This lightroom photo editing tutorial for beginners takes you through a complete edit, from import to export, in the order professionals actually use. You need no camera, paid plan or experience — the free Lightroom mobile app is enough for every step below, on phone or desktop.
Which Lightroom Should a Beginner Use?
Adobe offers Lightroom in three versions. Lightroom for mobile is a free app for Android and iPhone that covers everything in this tutorial. Lightroom for desktop is the cloud version for computers, and it syncs photos between phone, tablet and computer. Lightroom Classic is the older desktop program that stores photos on your own hard drive. Start with the mobile app — it is free, and the order below is the same in all three versions.
Step 1: Import Your Photos
Lightroom never edits your original file. Every change is stored as instructions, so you can undo anything later and the original stays untouched.
On mobile, open the app, tap the add-photo button and choose photos from your gallery. On desktop, click Add Photos and pick a folder or memory card. Import one shoot at a time and name the album clearly. Our guide to how to import photos in Lightroom covers both versions, including RAW files. Before editing, star your best shots and skip the rest.
Step 2: Crop and Straighten First
Always crop before you adjust light or colour, because cropping changes what the photo is about. A tighter crop can remove a distracting bin at the edge, and straightening a tilted horizon fixes the most common beginner mistake. On mobile, open the Crop tool, drag the corners to reframe, and use the Straighten control until the horizon is level. On desktop, press R for the crop tool and drag the same way.
Step 3: Fix the White Balance
White balance controls whether your photo looks warm (yellow) or cool (blue) — indoor shots often look orange, shaded ones blue. Fix this first, because every colour decision after it depends on it.
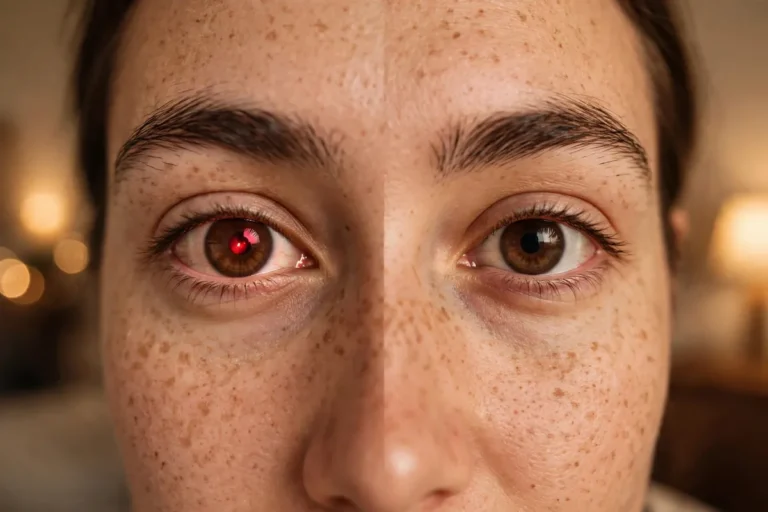
In the Light panel on mobile, or the Basic panel on desktop, find Temperature and Tint. Move Temperature toward yellow if the photo looks too blue, and toward blue if it looks too orange — a few points either way usually does it. The eyedropper is faster: tap it, then tap something that should be neutral grey or white, such as a wall, and Lightroom sets the balance for you. RAW files adjust cleanly; JPEGs tolerate less correction.
Step 4: Set the Exposure and Contrast
Exposure is overall brightness; contrast is the difference between the darkest and lightest parts. Together they decide whether a photo feels flat, muddy or punchy.
Start with Exposure: drag it until your subject looks correctly lit — not so dark that detail vanishes into shadow, and not so bright that the sky turns pure white. Then shape the light with the tone sliders. Highlights recovers detail in bright skies; Shadows lifts detail out of dark areas; Whites and Blacks set the brightest and darkest points. Turn on the clipping warnings to see where detail is lost. Also watch the histogram: a healthy photo has tones spread across it, though night photos should lean dark.
Step 5: Add Colour Without Overdoing It
Colour is where most beginners over-edit. A photo starts to look artificial long before the sliders reach their maximum, so move slowly and compare with the original often — tap and hold the photo to see the unedited version.
Start with Vibrance before Saturation. Vibrance boosts muted colours while leaving strong colours and skin tones mostly alone, so it is the safer slider. Saturation boosts every colour equally and quickly makes skin look orange. If one colour is the problem — grass that is too yellow, or a sky that is too cyan — use the Mix panel to adjust that single colour instead of changing them all.
Step 6: Sharpen and Clean Up Noise
Sharpening and noise reduction are finishing tools, not fixes for a blurry photo — apply them lightly and check at 100% zoom.
In the Detail panel, add a small amount of Sharpening to make edges crisper — a little goes a long way, and too much creates bright halos. If your photo was shot at night or at a high ISO setting, it may have grain: use Noise Reduction to smooth it, but stop as soon as the grain is acceptable, because too much makes skin look waxy. Apply noise reduction before heavy sharpening, since sharpening also sharpens the noise. Texture adds detail to hair and fabric; Clarity adds punch to landscapes but makes portraits look harsh.
Step 7: Try a Preset, Then Make It Your Own
A preset is a saved set of edits you apply in one tap. It is the fastest way for a beginner to see what a finished edit can look like — but it is a starting point, not a finish.
Apply a preset, then adjust it to your photo: fix the exposure, correct the white balance and pull back any slider that looks too strong. The same preset looks different on every photo because every photo has different light. Our collection of free Lightroom mobile presets is a good place to start, with one-tap installs for the mobile app.
Step 8: Fix Small Problems with Masking and Healing
Once the whole photo looks right, fix the small things. The Healing tool removes dust spots, pimples and stray objects: paint over the spot and Lightroom fills it in from nearby pixels. For bigger removals, the AI-powered Generative Remove rebuilds the area instead of copying it.
Masking lets you edit one part of a photo without touching the rest. Select the sky to darken it, or select your subject to brighten a face — one tap on Select Subject or Select Sky usually gets you most of the way there. Our guide to removing objects in Lightroom walks through healing and Generative Remove step by step.
Step 9: Export Your Finished Photo
Exporting is how your edit leaves Lightroom. For sharing, export JPEG at high quality, sRGB, 1080 pixels on the long edge. For printing, export at full resolution as JPEG or TIFF, also in sRGB unless your print shop asks for something else.
On mobile, tap Share, then Export, and choose JPEG at maximum quality; on desktop, use File, then Export, and set the file type, size and sharpening for screen or print. Keep the edit inside Lightroom, so you can export other sizes later.
Lightroom Photo Editing Tutorial for Beginners: Your 9-Step Checklist
Editing in the same order every time stops you from fixing colours before light, and from sharpening a photo you later crop.
| Step | What to do | Why now |
|---|---|---|
| 1 | Import and pick your best shots | Edit only worthwhile photos |
| 2 | Crop and straighten | Framing changes what follows |
| 3 | White balance | All colour decisions depend on it |
| 4 | Exposure and contrast | Sets the light before the colour |
| 5 | Colour: Vibrance, then Saturation | Colour on top of correct light |
| 6 | Sharpening and noise reduction | Finishing detail, checked at 100% |
| 7 | Preset, then adjust it | A head start, not a finish |
| 8 | Masking and healing | Local fixes after global ones |
| 9 | Export for its destination | Right size and format for the use |
7 Beginner Mistakes to Avoid
- Editing in random order. Fixing colour before light means redoing the colour later.
- Over-saturating. If skin looks orange, pull Saturation back and use Vibrance.
- Crushing shadows or blowing highlights. Check the clipping warnings — pure black and white hide detail.
- Over-sharpening. Halos around edges and crunchy textures mean the Sharpening slider is too high.
- Copying a preset blindly. A preset is a starting point for your photo’s light, not a finished edit.
- Expecting a miracle from a dull JPEG. Shoot RAW when your phone allows it.
- Never comparing with the original. Tap and hold to compare; if the edit is not better, undo a step.
Frequently Asked Questions
Is Lightroom free for beginners?
The Lightroom mobile app is free to download, and its core editing tools — crop, light, colour, presets and healing — cost nothing. Some tools need a paid plan. Adobe also offers a free trial of the paid plans, and official tutorials are free on Adobe’s Lightroom Learn page.
How long does it take to learn Lightroom?
The basics take one evening to learn and a week of practice to feel natural. Advanced tools take longer, but you do not need them to make good photos.
Can I edit RAW photos on Lightroom mobile?
Yes. Lightroom mobile opens RAW files from most phones and cameras, including DNG files. Some newer formats need an update or a DNG conversion first.
Learning Lightroom is mostly about order, not talent. Work through this lightroom photo editing tutorial for beginners on one photo today, then edit the same photo again tomorrow: the second version is usually better, and that gap is the whole skill.