How to Import Presets in Adobe Lightroom (Desktop, Mobile) 2025

Presets are one of the most premium and sought-after features of Adobe Lightroom. They are pre-made filter settings that allow you to quickly change your photos and videos. With Adobe Lightroom preset, you can easily improve your images and achieve results you want in the least time, what you use: Lightroom CC, Light Classic or Lightroom Mobile (Android, iOS).
To intensify the process, I would like to emphasize in this post how to import and install a preset in Adobe Lightroom in some simple stages.
How to Import Presets in Adobe Lightroom Classic (Desktop)
Adobe developed the Lightroom Classic software with the needs of professional photo and video editors in mind. LrC is the desktop version of Adobe Lightroom. The software is only available for PC or Mac. It supports importing XMP file presets.
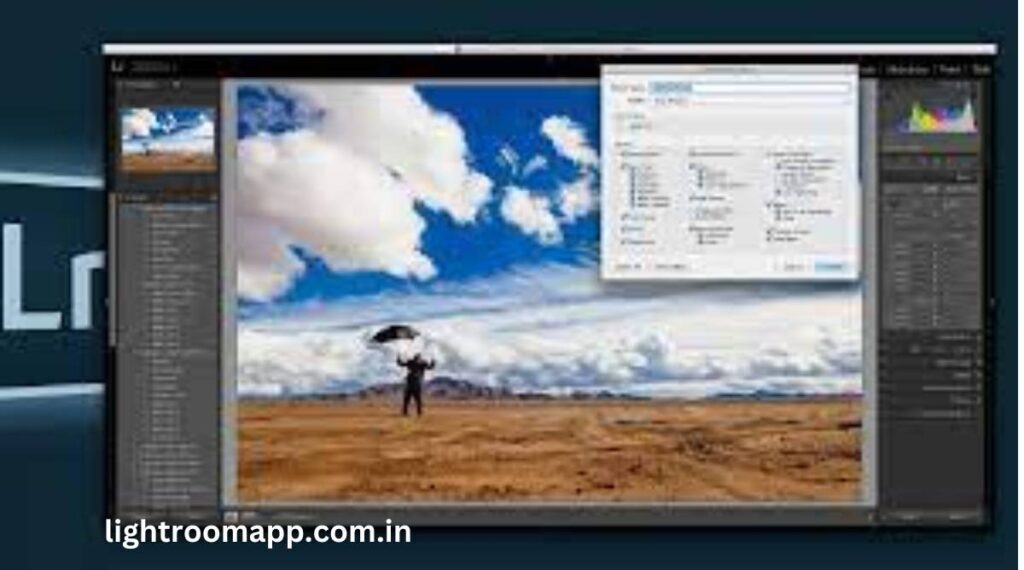
Here’s an easy way Three Ways to Import Presets to Adobe Lightroom Classic
Method 1: Drag and Drop Presets
Method 2: Use the Import Preset option
Method 3: Import Presets by Settings
How to Import Presets in Adobe Lightroom CC (Mobile)
There are three ways to install and import presets in Adobe Lightroom Mobile, Android, and iOS.
Method 1: Sync with Lightroom Desktop (LrC)
If you want to use the same presets on Lightroom Classic and Lightroom CC (Mobile), this method is for you. In this method, you can sync presets from Lightroom Classic to Lightroom CC with Adobe Creative Cloud. By syncing the app with LrC via Creative Cloud, all data Including preset values, they will be synced to Lr CC and ready to use.
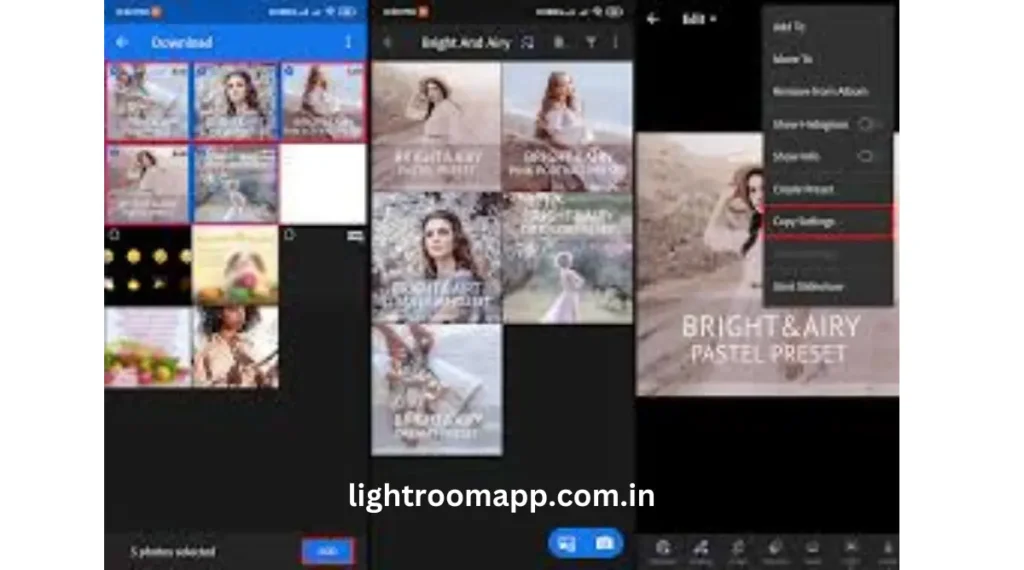
Method 2: Using the Import Preset option
You can also save your presets for later use and share them with other Lightroom users through the Lightroom Community if you want to unlock premium presets. You can download Lightroom MOD APK.
Method 3: Import presets to Adobe Lightroom with .DNG files
Advanced tips for managing the preset in Adobe Lightroom
When you succeed in importing your Adobe Lightroom preset, it is important to manage them effectively to maintain a steady workflow. By organizing your preset and using the underlying Lightroom tool, you can reach the right look after your images without wasting time scrolling through infinite lists. Here are some advanced suggestions that help you organize your preset more efficiently.
Create a customized preset folder
Arranging the preset for a customized folder is a great way to keep things clean. You can create a folder after photography types (such as portraits, landscape, wedding) or editing style (eg vintage, black and white, HDR). This way you can quickly find pre -determined for your current project.
Use descriptive predetermined names.
Changing the preset with descriptive names can save you time. Instead of using common names such as “Pressed 1”, choose names like “Light and Walked” or “Moody Sunset” so you can quickly understand what each preset is doing.
Take advantage of your favorite feature.
In Lightroom mobile, you can mark the preset as a favorite by tapping the star icon. This feature is especially useful if you regularly use multiple presets and want to access them quickly without searching through the entire library.
Backup your preset.
Backups the customized preset regularly, especially if you spend a lot of time making or customizing them. You can export the preset to a secure cloud storage service or external hard drive to ensure that you do not lose them in a technical problem.
Wash over the equipment.
Adobe Creative Cloud lets you synchronize the preset on many devices, whether you edit on your desktop or mobile phone. You can access the same preset to ensure your editing doesn’t matter where you are.
Final result
After reading this article, I hope you are able to import advance lighter rooms. You can follow the instructions and import the lesoom presets in a simple and simple way. Whether you use Adobe Literoom Classic (Desktop) or literoom Mobile (Android, iOS), you can also adjust your preset using a set of filters and search for more images and save them to speed your work.


В современном обществе медицинские споры становятся все более актуальной темой Разные причины,
связанные с оказанием
медицинских услуг, могут приводить к медицинским спорам.
Сложность ситуации усугубляется тем, что в сфере медицины присутствует множество практик и нюансов,
которые необходимо учитывать
Причины возникновения медицинских споров
Граждане могут сталкиваться с медицинскими спорами по нескольким ключевым причинам:
Нарушение условий договора на оказание медицинских услуг
Осуществление обязательств медицинскими организациями не на должном уровне.
Недостатки в процессе диагностики и лечения.
Нарушение прав больного на защиту его персональных данных.
Отказ в предоставлении необходимой медицинской помощи
Гражданские права в контексте медицинского обслуживания
Право на качественное медицинское обслуживание принадлежит
каждому гражданину. Важно осознавать, что права пациентов имеют
юридическую защиту. При нарушении условий договора или получении некачественных услуг гражданин имеет возможность обратиться в
суд за защитой своих прав.
Роль доказательств в медицинских спорах
Успешное рассмотрение дел в суде зависит
от наличия достаточных доказательств.
Пациенту необходимо собрать следующие
документы
Копии договора на оказание медицинских услуг
Медицинские заключения
и справки
Отзывы и показания свидетелей
Документы, которые подтверждают факт предоставления услуг
Значение юриста при разрешении медицинских
споров
Рекомендуется обратиться к юристу,
который имеет опыт в разбирательствах медицинских споров.
Этот специалист поможет составить исковое заявление, подготовить все нужные документы и
представлять клиента в суде.
Значение экспертизы в медицинских спорах
Проведение экспертизы — это ключевой этап в разрешении медицинских споров С помощью экспертизы можно определить причины возникших проблем и степень вины медицинской организации или врача.
Результаты экспертизы могут кардинально изменить результат судебного
разбирательства.
Правовая ответственность в сфере медицины
Медицинские организации несут ответственность за качество оказания услуг
В случае выявления нарушений, пациент имеет право на
компенсацию ущерба, а также на привлечение виновных к юридической ответственности Это важный
элемент системы правового регулирования медицинских споров. мед юрист Финальные
выводы
Споры в медицине являются сложной тематикой, на которой сочетаются
интересы обычных граждан, медицинских организаций
и юридической системы Каждый подобный случай неповторим
и требует особого внимания для
выяснения того, кто отвечает за предоставленные услуги
и их негативные последствия Значительную роль играют экспертизы, которые могут подтвердить
или опровергнуть аргументы вовлеченных сторон.
Наличие профессионального юриста в данной ситуации значительно повышает шансы на положительное разрешение конфликта.
Специалисты, обладающие опытом в
медицинских делах, могут помочь в следующих вопросах:
Анализ правовых позиций участников спора
Сбор и анализ доказательств
Защита интересов клиентов в суде;
Консультирование по вопросам
прав граждан на получение медицинских
услуг
Важно помнить, что каждое медицинское
решение связано не только с политикой учреждения,
но и с личными данными пациентов при возникновении спора Следует учитывать,
что право на защиту своих интересов является основополагающим
в любом споровом процессе, включая сферу
медицины
Следовательно, глубокое понимание механизмов разрешения споров в
медицине помогает гражданам защищать
свои права и строить более конструктивные отношения с медучреждениями Нынешние правовые
механизмы и способы их использования
дают возможность решать вопросы, возникающие в практике
предоставления медицинской помощи,
с большей эффективностью и предсказуемостью.
В заключение, медицинские споры требуют комплексного подхода и налаженной взаимодействия
между юристами, пациентами
и медицинскими учреждениями Защита прав граждан в этой области является ключевым
моментом, и правильное обращение к опытным специалистам может существенно повлиять на исход дела Необходимо помнить, что каждое
дело уникально, и только подробный анализ
всех условий позволит
добиться справедливости и удовлетворенности обеих сторон спора