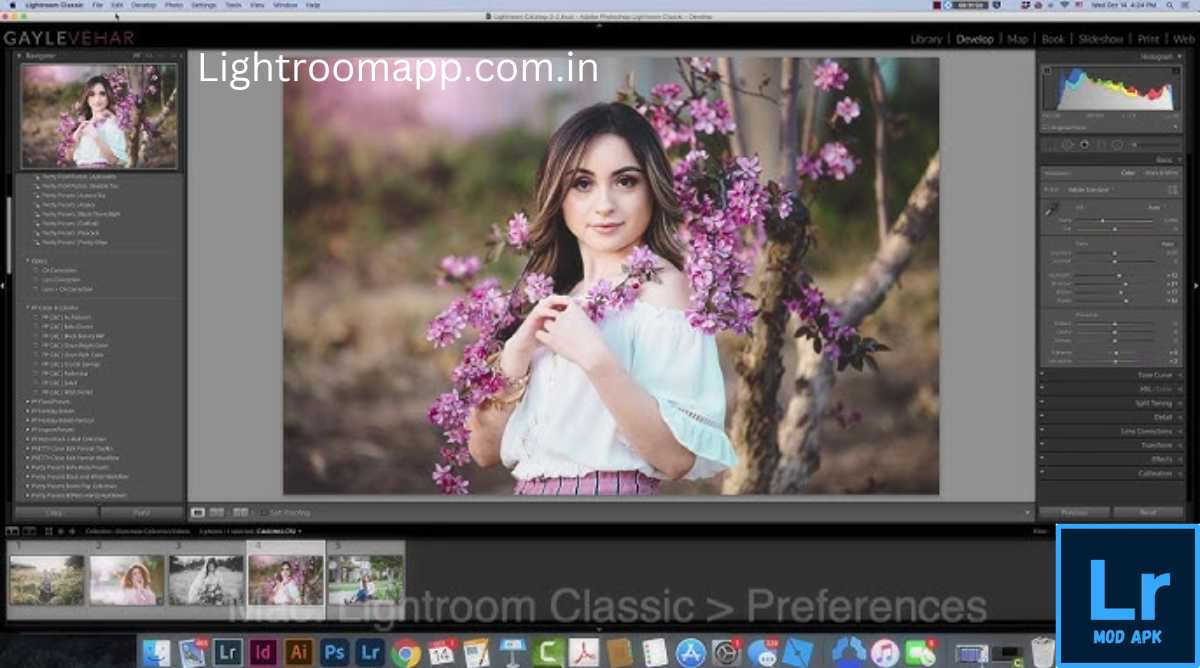
How to Fix Blurry Photos in Lightroom? (7 Test Methods)
Are you done with your editing work in Lightroom but have noticed a blur in your photos that detracts from your art instead of making it work? Don’t worry! We are here to give you some simple steps on how to fix blurry photos in Lightroom after many tests. But one thing you should always keep in mind is that geniuses save time by keeping things simple instead of spending time on troubleshooting. So, we need to eliminate the roots that cause blur in photos and videos.
This is the reason that in this post, we’ll explore the causes of photo blur, chat about how to stop blur in your photos while you’re shooting, and then explore the different Lightroom tools that can be used to help remove blurry photos. We will walk you through the process of using and editing them. If Lightroom isn’t helping you improve an image, we’ll then suggest several alternative photo-editing programs to you.
Explanations for the unclear pictures
It’s crucial to comprehend the reasons behind our blurry photos before we discuss how to correct them in Lightroom. Below is a list of the four primary reasons why photos get blurry.
We frequently focus the lens first before we hit the shutter button, blurring the picture. Moreover, fuzzy photos may result from a sluggish shutter speed that prevents us from taking a photo before the subject moves. Shifted photographs might also result from not being able to keep your camera steady when taking pictures. Another reason is that if you are shooting a moving subject at slow camera speeds, your camera can lose focus and blur the image.
Different ways to fix blurred images in Lightroom
Not every photographer can afford a DSLR or similarly expensive camera to capture high-quality images. Also, it is difficult to get good poses while taking photos, resulting in poor-quality photos. Therefore, it becomes important to know how to fix blurred images in Lightroom. You can use the following methods to enhance the quality of your photos or videos in Lightroom Classic and CC, whether you use them on a desktop or mobile device:
Method 1: Use the Sharpening Tool
Sharpening your images with Lightroom by removing blur is a very simple process that can be completed in minutes. First, you need to click on the ‘Advances’ button in the top right navigation bar. Then, scroll down to the ‘Details’ section in the bottom right and click on it. Next, you’ll see four sharpening tools with sliders, namely Amount, Radius, Detail, and Masking.
The Amount of Money in Writing
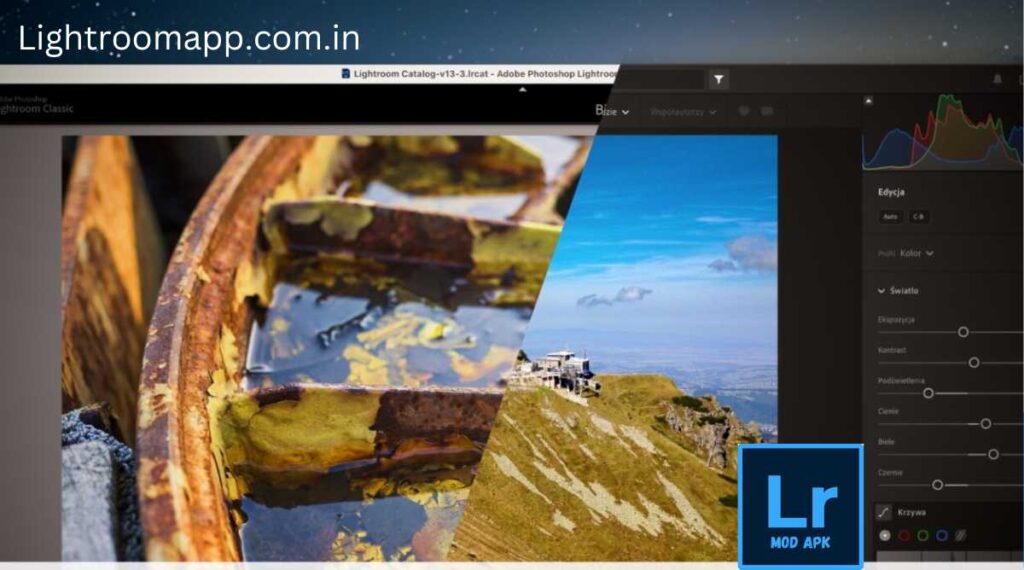
To change the sharpness of the image, you need to use the quantity slider. Depending on your preference, you can increase or decrease this slider and set the value after analyzing your scanned image.
Radius Slider
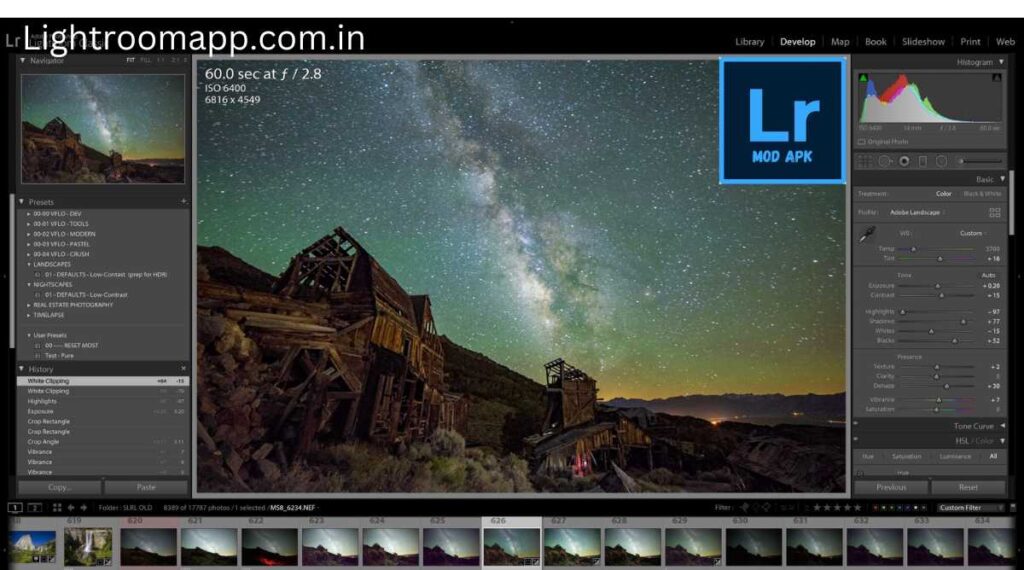
This is a new sharpening tool that allows us to control the size of sharpening objects. Increasing the radius allows you to sharpen larger sections of detail, and decreasing it allows you to sharpen smaller details.
Slider Details
Detail sliders allow you to focus on the edges and details of your image. If you set the value of this slider to a low level, you can create larger lines, while increasing the value higher allows you to create smaller edges. Simply put, it helps improve image quality by providing pixels. The ideal minimum and maximum values are 5 and 100 respectively. Moreover, you can adjust them according to your image preview.
Masking Slider
Applying a mask is useful if you want to prevent a portion of your image from being sharpened, as it allows you to hide the part you want. It also helps to reduce noise caused by adjustments to the Detail and Amount sliders. Additionally, it can still be used to sharpen the right parts of your image and also prevents smooth areas from being sharpened.
Method 2: Using the Clarity Tool
This is one of the easiest ways to fix blurry photos in Lightroom and helps us to make our photos look fantastic. This helps us to remove the grain that can be added to highlights and shadows, as well as mid tones that are emphasized by the cloudy tool. However, this tool must be used carefully to fix blurry photos, as overuse can result in unrealistically hard edges on our photos.
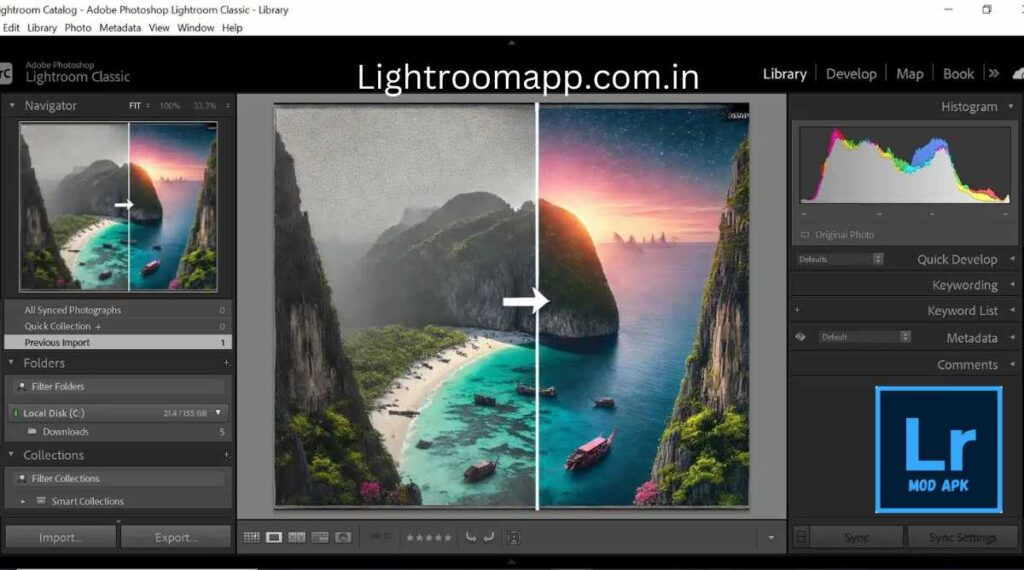
Method 3: Using the Adjustment Brush
This tool is also present in the Develop module and helps us to improve the quality of the images only if some parts of them are blurry, so we can adjust those specific areas with brushes. First, you need to adjust the sliders in the right panel if you want to sharpen blurry images with the Adjustment Brush. You can easily find these sliders under “Histogram” or by pressing the keyboard shortcut.
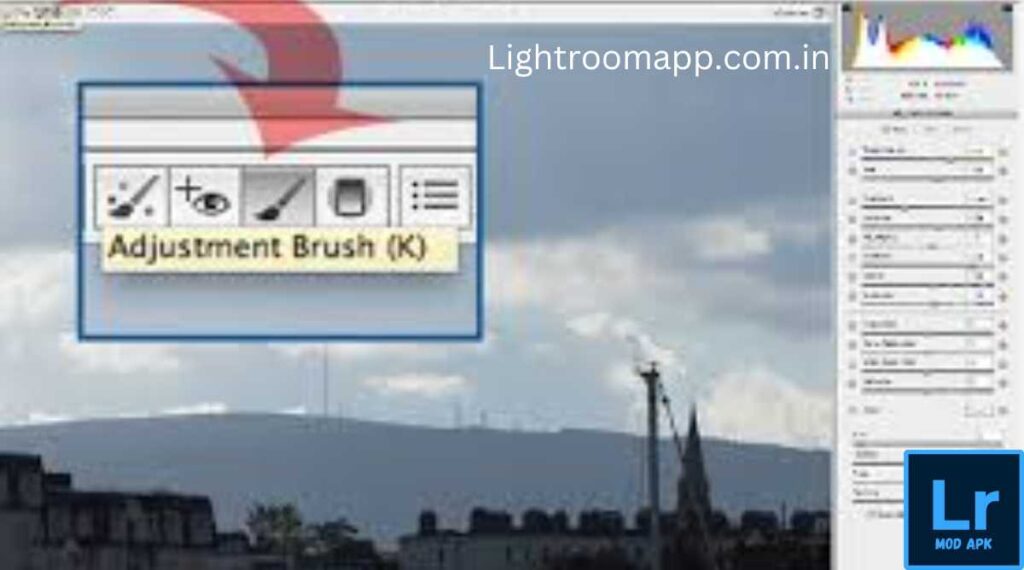
This will show you the effect options and you can now use the sliders to make adjustments as desired. Moreover, you can make adjustments by selecting the circle brush with the plus icon and selecting the desired part of the image by swiping over it and then clicking Done.
Method 4: Using Presets
A collection of Lightroom presets, Save Editing, can also be used to remove blurry images, and with it, you don’t have to look far if you want to fix blurry images in Lightroom because of its simplicity. They help professional photographers increase their productivity and are a boon for beginners who don’t know how to make some adjustments to get rid of blurry images.
Some presets come pre-installed, while you can install other Lightroom presets according to your preferences. If you want to fix blurry photos using presets, you need to follow the steps below:
The image you wanted to blur should be chosen first.Then click on the Preset button. A list of presets will appear. You need to select presets according to your requirements.Make adjustments to the presets to make your photos look even more amazing.
Method 5: Using the Basic and Detail Panels
The Basic and Detail panels are also very useful for sharpening the quality of images or increasing the resolution. The primary tool, located under the Develop module in the right panel, consists of “White Balance” and Tones. These are useful in controlling editable elements individually and give us access to make some adjustments. It is also very useful for post-processing, so it has proven to be very useful in improving the quality of images. A Detail panel is also useful for reducing noise but should be used with caution, as too much sharpening can make your photos look unnatural.
Method 6: Using Radial and Graduated Filters
Using radial and gradient filters to brighten or darken certain areas of the image is a fun and customizable technique to enhance the clarity of fuzzy photos. We can use radial filters to add sunlight and soften skin tones to our photos. This filter can affect more space around the radial area but don’t worry, we can use a masking tool to get rid of this problem.
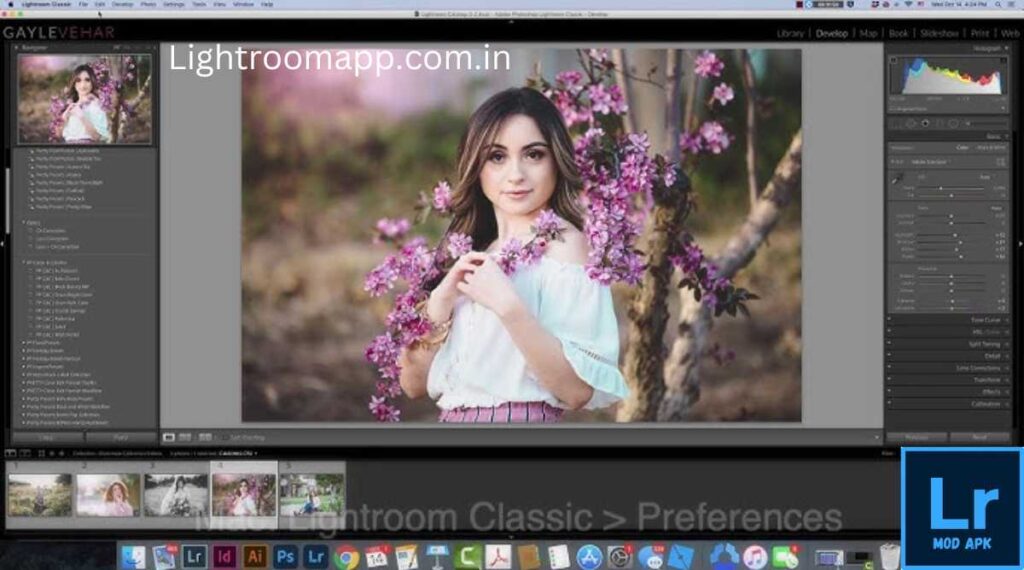
Now let’s talk about the graduated filter to answer your question about how to fix blurry photos in Lightroom because without using it we can’t achieve perfection in improving the quality of photos. On the right side of the Develop module, where there is a gray rectangle, you will find a wide range of graduated filters.
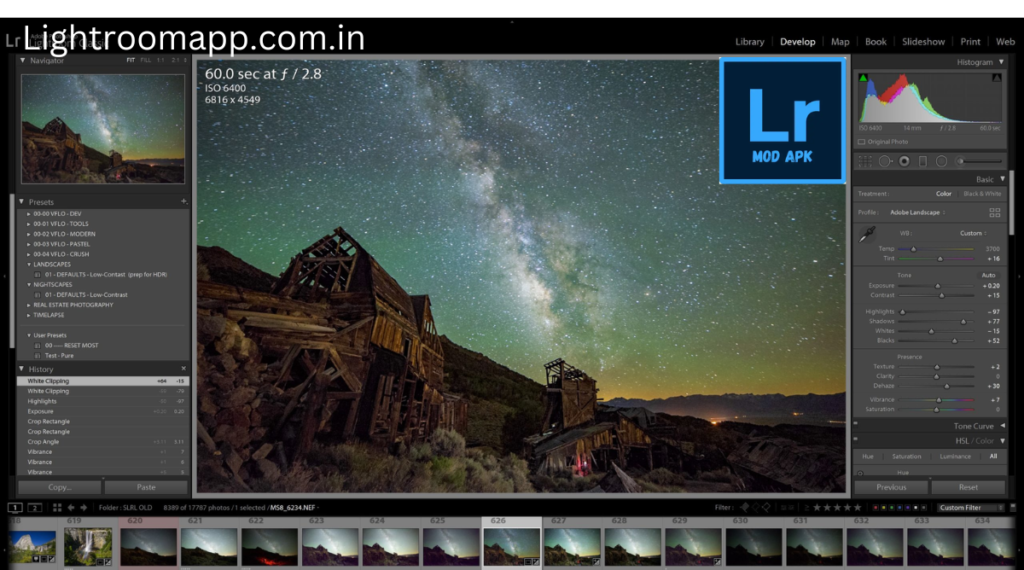
Here you can select your favorite filter by simply dragging it to your chosen image, then choose the central circle and drag it to the desired position. Another important aspect of graduated filters is feathering, where you have to draw outer lines to define the filters. If you want to rotate the filter, you have to rotate the center line.
Method 7: Use Photo Enhancement Software
To prevent image blur using the above methods If you still experience blurry problems with your photos, you can use software specifically designed to improve image quality, e.g Remini Online Additionally, if you use mobile devices, you can choose an image enhancement app like Remini or an alternative, Because it is designed to enhance image quality rather than image editing
You can complete your task of removing blurry images in just a few minutes thanks to an AI-powered algorithm that automatically detects imperfections in the images and works to give it quality improvement All you have to do is upload it and click the “Enhance” button.
How can blurred images be prevented?
While there are many ways to improve images that don’t look good, you need to know how to avoid these blurry images. So you should follow these guidelines:
FAQ,s
Final Thoughts
If you are looking for a way to fix blurry photos in Lightroom, then the methods mentioned above will be a blessing for you. Our goal is to facilitate the field of photo editing by keeping you informed about all the possibilities of Lightroom. Our support is not limited to Lightroom alone. There’s no way we can help you. Just like with image enhancement, we have given you ideas about the best image enhancement software. In addition, we have provided information on how to use a modified version of Lightroom for Android to complete your editing work with ad blocking, and you can download this mod apk file from this website. Exporting it from this page is another option.

